If you have a website and you want to publish a blog post on your website. It can take up a lot of your time and effort, or you will have to hire someone to create content for you. So instead of this, let’s say you want to quickly create your blog posts without putting much effort or money. Yes, you read it right! Without much effort or money. If you got option to create a blog post using artificial intelligence then surely you will try to avail this opportunity.
step 1:
Open a ‘anyword’ website by clicking the link: click here

step 2:
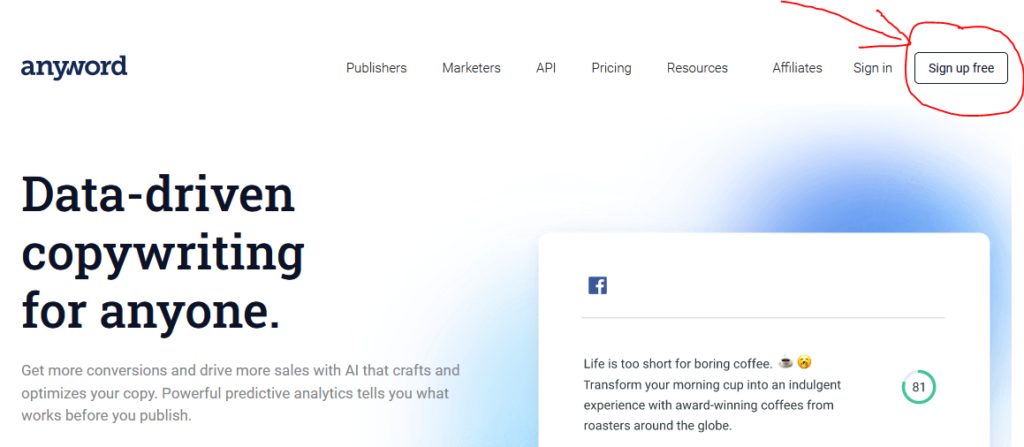
Press ‘sign up free’ button at the top right corner of the page. Here you need to enter the email address and password to create an account or you can also use your google account to create an account.

step 3:
Go to your email that you used to create a account and verify your account by clicking the link (button) given in email.
step 4:
Now you will redirect to ‘anyword’ website and choose you role (select whatever you want), Perform these steps by clicking ‘next’ button giving at the bottom of your page.

step 5:
At last step click on the blog and press create your first project button.

step 6:
Now you will see following page, To create a blog post first you need to enter your blog post topic. (for example we enter “how to avoid obesity in natural way” ) then category of blog post (we enter “healthy living’) and keyword for your topic, you can also add multiple keywords.

step 7:
As you press the next button shown in previous step, it will automatically generate a title for your blog post. You can select any one topic of your choice or if you don’t like these titles, just click on generate more button. Once you choose the title then press Next button.

step 8:
According to your selected blog post topic, AI generates headings (outlines) for your post. You can edit or remove headings according to your choice just by clicking and then press next button.

step 9:
Now intro paragraph will automatically be generated for you. You can select a paragraph that best reflect your blog post topic. You can also edit the paragraph by clicking on it, if you want to add or remove some more data for your intro. Then press next button.

step 10:
After completing the above steps, press continue to editor button.

step 11:
Finally, you are going to finish your blog post, now you will see your post title, intro and headings section, press the generate button given against each heading.

step 12:
You can also edit the content of heading, delete heading and add new heading, Once all headings content generated, you can use these text in your blog post.

To read more posts about how to: click here

Very interesting info !Perfect just what I was looking for! “The only limit to our realization of tomorrow will be our doubts about reality.” by Franklin Delano Roosevelt.